
Drone videography has revolutionized how we capture aerial footage, offering new perspectives and creative possibilities. However, to get the most out of your drone and produce high-quality videos, it’s crucial to follow some best practices. Whether you’re a beginner or an experienced drone pilot, these tips will help you achieve stunning results.
1. Master Your Drone’s Capabilities
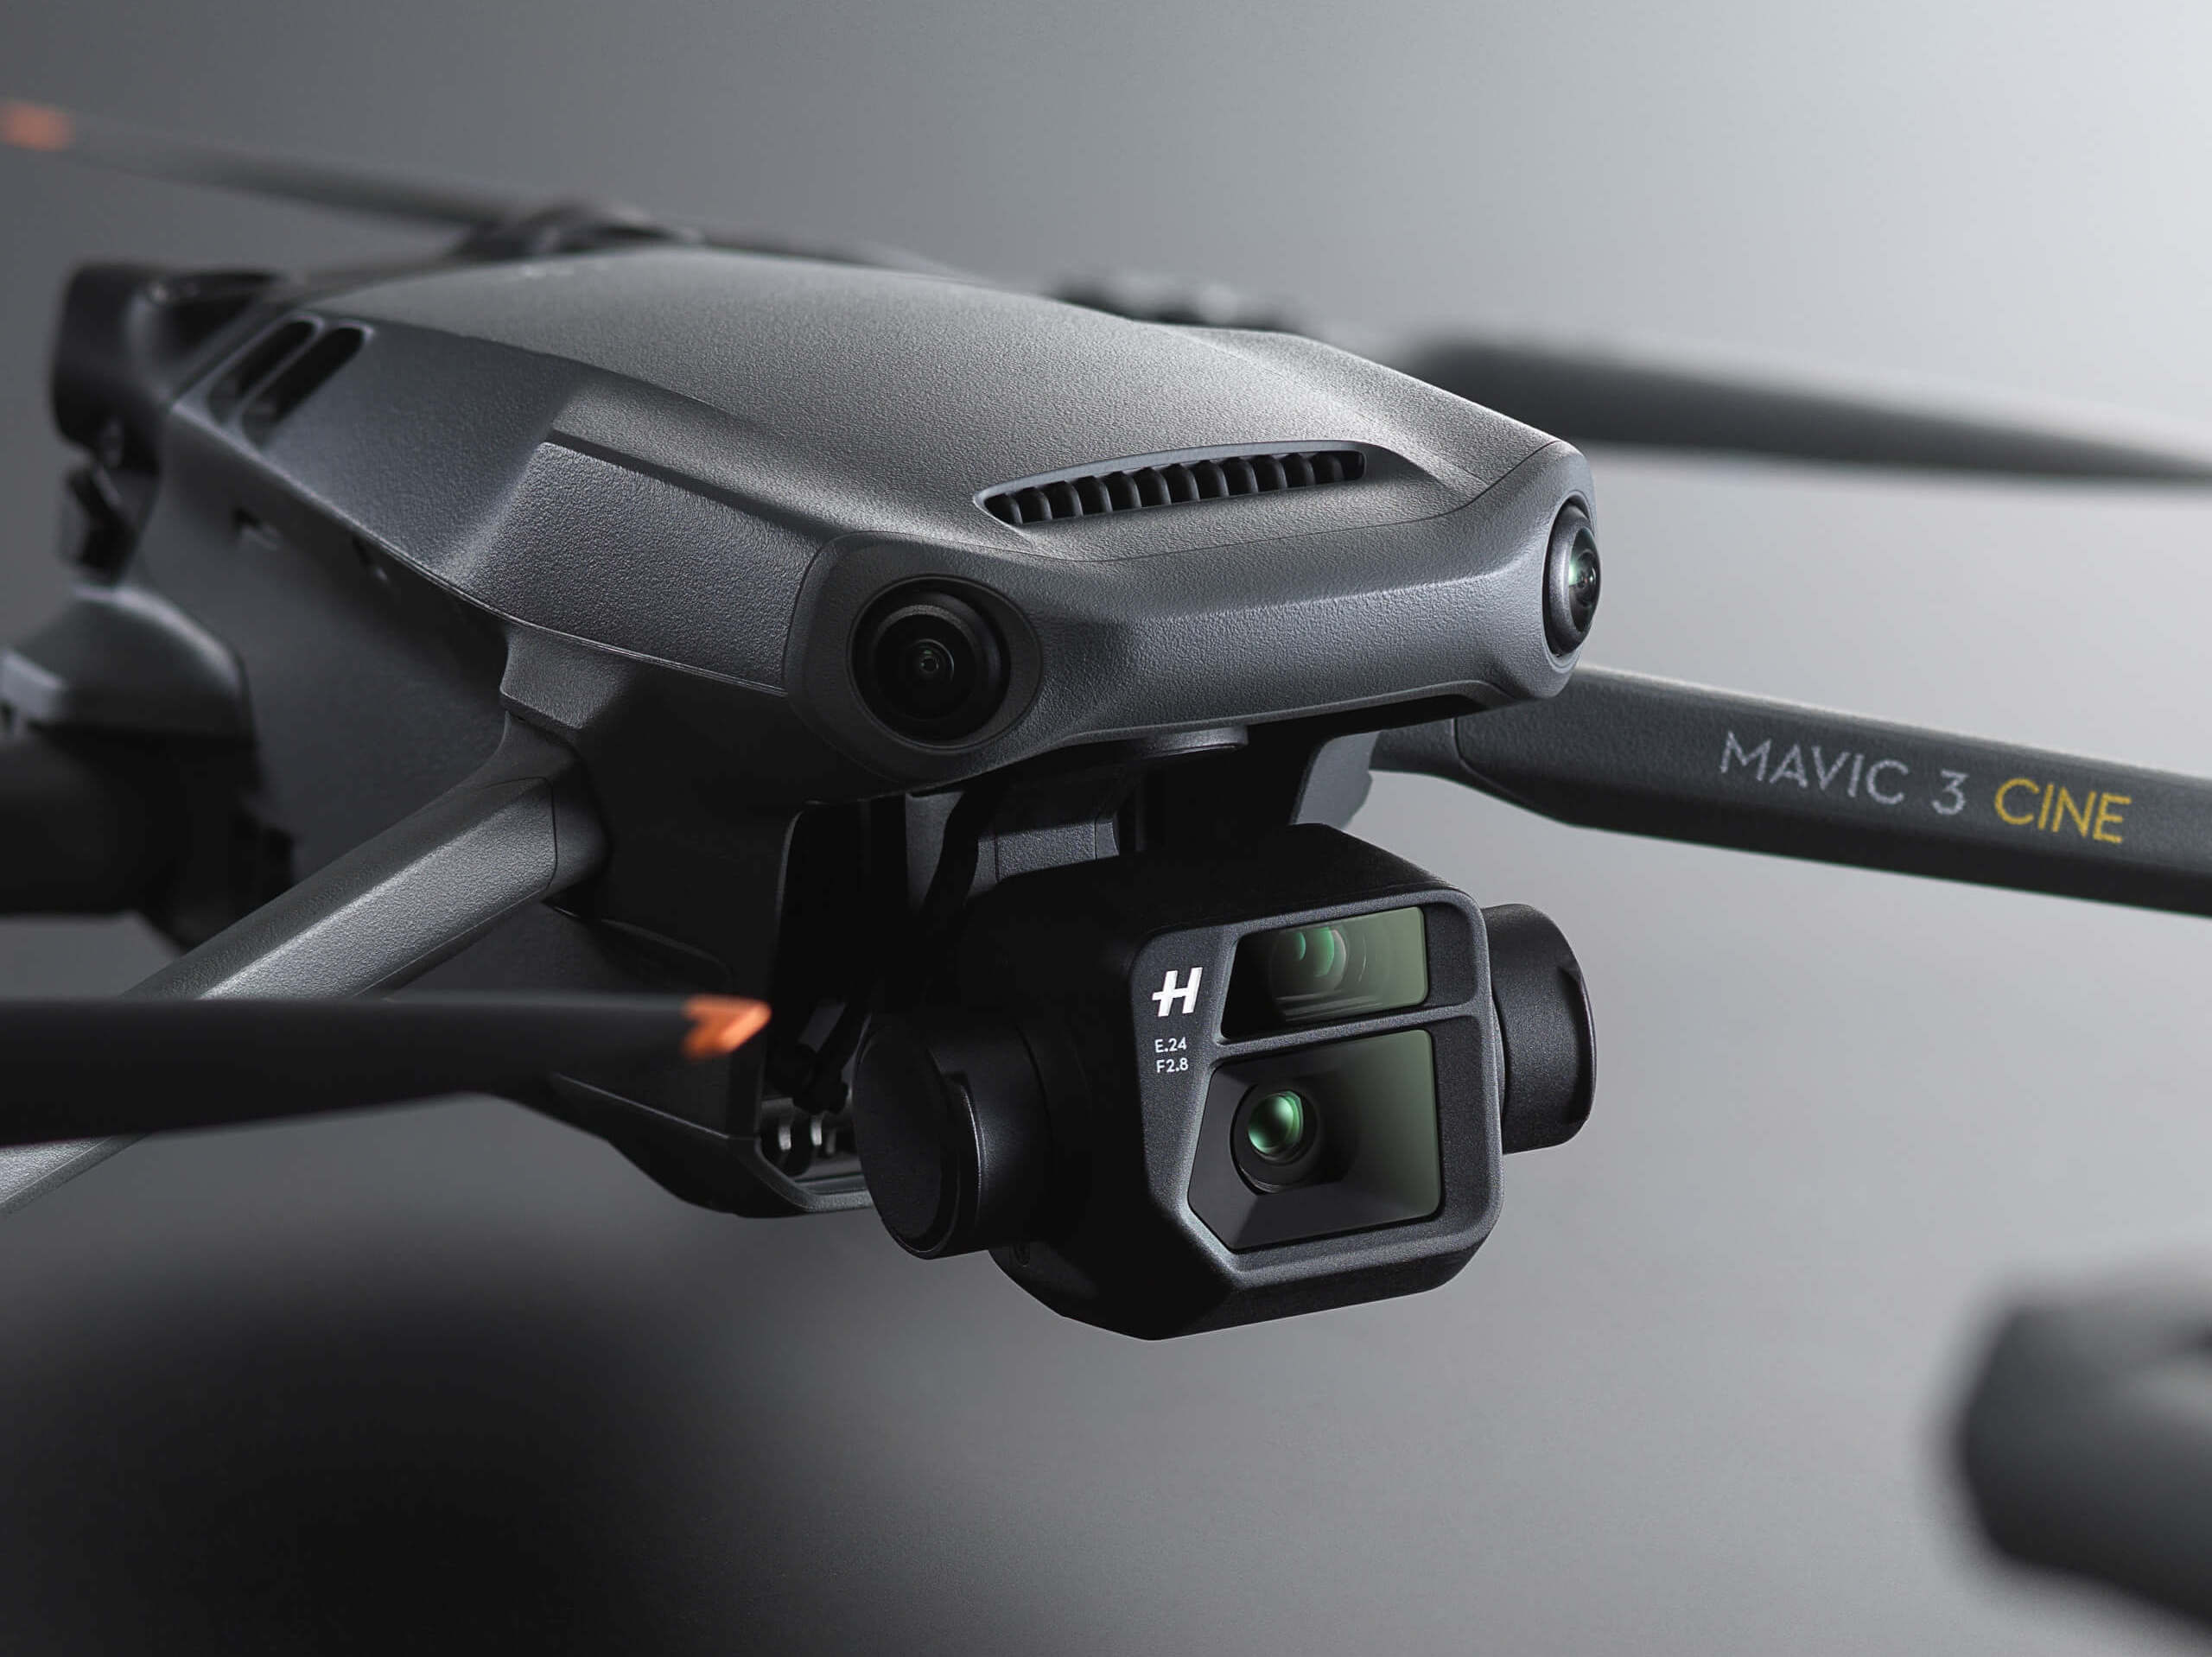
Before you even think about taking your drone out for a shoot, it’s crucial to fully understand its capabilities. This includes knowing the ins and outs of your drone’s camera settings, flight modes, and safety features.
- Camera Settings: Know how to adjust ISO, shutter speed, aperture, and white balance. For video, choose the right frame rate—24 fps for a cinematic feel, 30 fps for smooth general footage, and 60 fps or higher for slow-motion effects.
- Flight Modes: Different drones offer various flight modes such as Follow Me, Orbit, and Waypoints. Understanding these can help you capture complex shots with ease. For example, using the Waypoints mode allows the drone to follow a pre-programmed flight path, ensuring consistent framing for time-lapse videos.
- Battery Life and Range: Familiarize yourself with your drone’s battery life and operational range to avoid unexpected shutdowns or loss of control during flights.
2. Pre-Plan Your Shoot with a Detailed Checklist
Planning is the cornerstone of successful drone videography. A well-thought-out plan ensures you capture the best possible footage while minimizing risks and uncertainties.
- Location Scouting: Visit the location in advance to identify the best spots for takeoff and landing. Check for potential obstacles like trees, power lines, and buildings. Use apps like Google Earth for a virtual scout if a physical visit isn’t possible.
- Shot List and Storyboarding: Create a detailed shot list that outlines the types of shots you need (wide angles, close-ups, tracking shots, etc.) and the sequence in which you’ll capture them. Storyboarding can help visualize the flow of your final video.
- Regulatory Considerations: Ensure the location is legally permissible for drone flights. Research local regulations, and if necessary, obtain the required permits. In Canada, for example, flying in controlled airspace requires coordination with Transport Canada and nearby airports.
3. Conduct a Thorough Site Survey
A site survey is an essential part of drone videography, particularly for commercial or complex shoots. This involves:
- Airspace Analysis: Determine if the shoot location is in controlled or restricted airspace. Tools like the NAV CANADA Drone Flight Planning Tool can help identify no-fly zones and airspace restrictions. If the site is in controlled airspace (which is most of the GTA), you’ll need to file a request with Transport Canada for permission to operate for a drone that weighs 250 grams or more.
- Risk Assessment: Identify potential hazards that could affect the flight, such as electromagnetic interference, wildlife, or weather conditions. Assess how these risks could impact the shoot and plan mitigations accordingly.
- Environmental Considerations: Take into account environmental factors like wind speed, temperature, and sunlight angles. High winds can make it difficult to control the drone, while harsh sunlight can create harsh shadows or overexposure.
4. Optimize Your Camera Settings for Each Shot
Properly configured camera settings are essential for capturing high-quality video. Here’s how to set up your camera for different shooting conditions:
- Resolution and Frame Rate: Choose the highest resolution your drone supports (e.g., 4K) for crisp, detailed footage. Match the frame rate to the intended playback speed; for regular motion, 24-30 fps is ideal, while 60-120 fps is suitable for slow-motion effects.
- Exposure Settings: Use manual settings to control exposure. Set the ISO as low as possible to reduce noise and adjust the shutter speed to maintain the 180-degree rule (shutter speed = 2x frame rate).
- White Balance: Set the white balance manually based on the lighting conditions to avoid color shifts during the shoot. Daylight (around 5600K) is a good starting point for outdoor shoots.
- Focus and Gimbal Settings: Ensure your camera is in manual focus mode to avoid the focus shifting mid-shot. Calibrate the gimbal for smooth, level shots, and set the tilt speed to a slow setting for gradual, cinematic movements.
5. Use ND Filters to Control Light
Neutral Density (ND) filters are an invaluable tool for controlling exposure, especially in bright outdoor conditions. These filters reduce the amount of light entering the camera lens without affecting the color balance, allowing you to use slower shutter speeds for smoother motion blur.
- Choosing the Right ND Filter: ND filters are available in various strengths (e.g., ND4, ND8, ND16, etc.). For bright, sunny days, an ND16 or higher is often necessary. For overcast conditions, ND4 or ND8 should suffice.
- Impact on Video Quality: By using an ND filter, you can maintain optimal camera settings, such as slower shutter speed, resulting in footage that is smooth and natural-looking. Make sure you check your ISO though to ensure there is enough light hitting your sensor. Reduce the ND filter or raise your aperture with higher ISOs.
6. Ensure Stable and Smooth Flight Movements
Stability and smoothness in your drone’s movement are critical for producing professional-grade footage. Jerky or erratic movements can ruin an otherwise perfect shot.
- Flight Techniques: Practice flying your drone in straight lines, smooth curves, and controlled orbits. Use the gimbal to pan the camera slowly rather than turning the drone itself, as this creates smoother footage.
- Flight Path Planning: Plan your flight paths in advance to avoid unnecessary adjustments during the shoot. Use waypoints or set the drone to fly in a straight line while controlling the gimbal for dynamic shots.
- Avoiding Propeller Shadow (Prop Shadow): Propeller shadows can appear in your footage, especially during low-angle or backlit shots. To prevent this, adjust the drone’s height or camera angle or fly during times when the sun is higher in the sky. This is rarely an issue though if taking a video of something far away.
7. Capture a Variety of Angles and Perspectives
Variety in your shots keeps the video engaging and dynamic. Here’s how to capture a diverse range of footage:
- Wide Shots: Start with wide, sweeping shots to establish the location and provide context. These shots are great for introducing the setting in your video.
- Close-Up Shots: Use the drone’s ability to get close to objects for detailed shots of architectural features, natural elements, or key subjects. This adds depth and interest to your video.
- Tracking Shots: Track moving subjects, like vehicles or people, using your drone’s Follow Me or ActiveTrack mode. These shots add movement and narrative to your video.
- Reveal Shots: Use reveal shots where the drone ascends or moves laterally to gradually reveal the scene, creating a sense of anticipation and wonder.
8. Adhere to Strong Composition Principles
The composition of your shots can dramatically affect their impact. Follow these principles for more visually appealing footage:
- Rule of Thirds: Place key elements along the lines or intersections of the rule of thirds grid to create balanced and harmonious shots.
- Leading Lines: Use natural lines in the landscape, such as roads, rivers, or fences, to guide the viewer’s eye through the frame and towards the main subject.
- Symmetry and Patterns: Look for symmetrical compositions or repetitive patterns in the scene. Symmetry can create a sense of order and balance, while patterns add interest and complexity.
- Foreground Interest: Include elements in the foreground to add depth to your shots. Foreground objects like trees, rocks, or buildings can frame the main subject and create a sense of scale.
9. Edit With Purpose
Editing is where your footage comes to life. A well-executed post-production process can turn raw clips into a polished final product.
- Editing Software: Use professional editing software like Adobe Premiere Pro, Final Cut Pro, or DaVinci Resolve. These programs offer advanced features for color correction, stabilization, and transitions.
- Color Grading: Adjust the colors to achieve the desired mood and style. Color grading can make your footage look more cinematic, enhance the time of day, or correct any exposure issues.
- Stabilization: Use software tools to stabilize any shaky footage, ensuring that your final video is smooth and professional.
- Sound Design: Don’t overlook the importance of sound. Adding background music, sound effects, or even a voiceover can significantly enhance the narrative and emotional impact of your video.
- Exporting: Export your video in the highest resolution possible, and ensure it’s in a format compatible with the intended platform (e.g., MP4 for online sharing, ProRes for professional use). Consider file sizes and client needs when exporting.
10. Prioritize Safety and Legal Compliance
Safety and legal compliance are paramount in drone operations. Neglecting these aspects can lead to accidents, legal issues, and damage to your reputation.
- Legal Compliance: Abide by local and national regulations regarding drone use. In Canada, this includes holding a valid drone pilot certificate (Basic or Advanced) and registering your drone with Transport Canada. Always carry your documentation and be prepared to show it if questioned by authorities. Also ensure to have the necessary approvals to fly in the area you are intending to.
- Pre-Flight Checklist: Always perform a pre-flight checklist to ensure your drone and equipment are in good working order. This includes checking the battery levels, firmware updates, GPS signal, and calibration of the compass and gimbal.
- Safety Procedures: Maintain a safe distance from people, property, and restricted areas. Avoid flying over crowds or in adverse weather conditions. Have an emergency plan in case of signal loss or battery failure.
Summary
To capture high-quality drone footage, it’s essential to fully understand your drone’s capabilities and plan your shots meticulously. This includes familiarizing yourself with camera settings, optimizing conditions like weather, and using ND filters for better exposure control. Ensuring smooth flight paths and varied angles adds depth to your video, while attention to composition enhances visual appeal. In post-production, purposeful editing brings the footage to life with color correction, stabilization, and sound design. Always prioritize safety by adhering to regulations and performing thorough pre-flight checks to ensure all equipment is in top condition.
Effective drone videography requires a combination of technical knowledge, creativity, and careful planning. By following these best practices, you can elevate your drone videos from ordinary to extraordinary, ensuring that you capture the breathtaking footage your audience will love. For more tips and professional drone services, visit our website at Drone View Toronto.
Ready to elevate your project?
Keep on reading below:
Showcase Properties with Stunning Drone Marketing in Toronto
Elevate Your Real Estate Listings with Drone Marketing in Toronto Introduction In today’s competitive real estate market, high-quality visual content is more important than ever. Buyers are increasingly looking for immersive online experiences that allow them to explore properties from…
Transforming Property Appraisals with Drone Technology in Toronto
Professional Drone Real Estate Appraisals in Toronto Introduction When it comes to real estate appraisals, accuracy and comprehensive data collection are paramount. At Drone View Toronto, we utilize advanced drone technology to offer highly accurate real estate appraisals. Our drone-based…
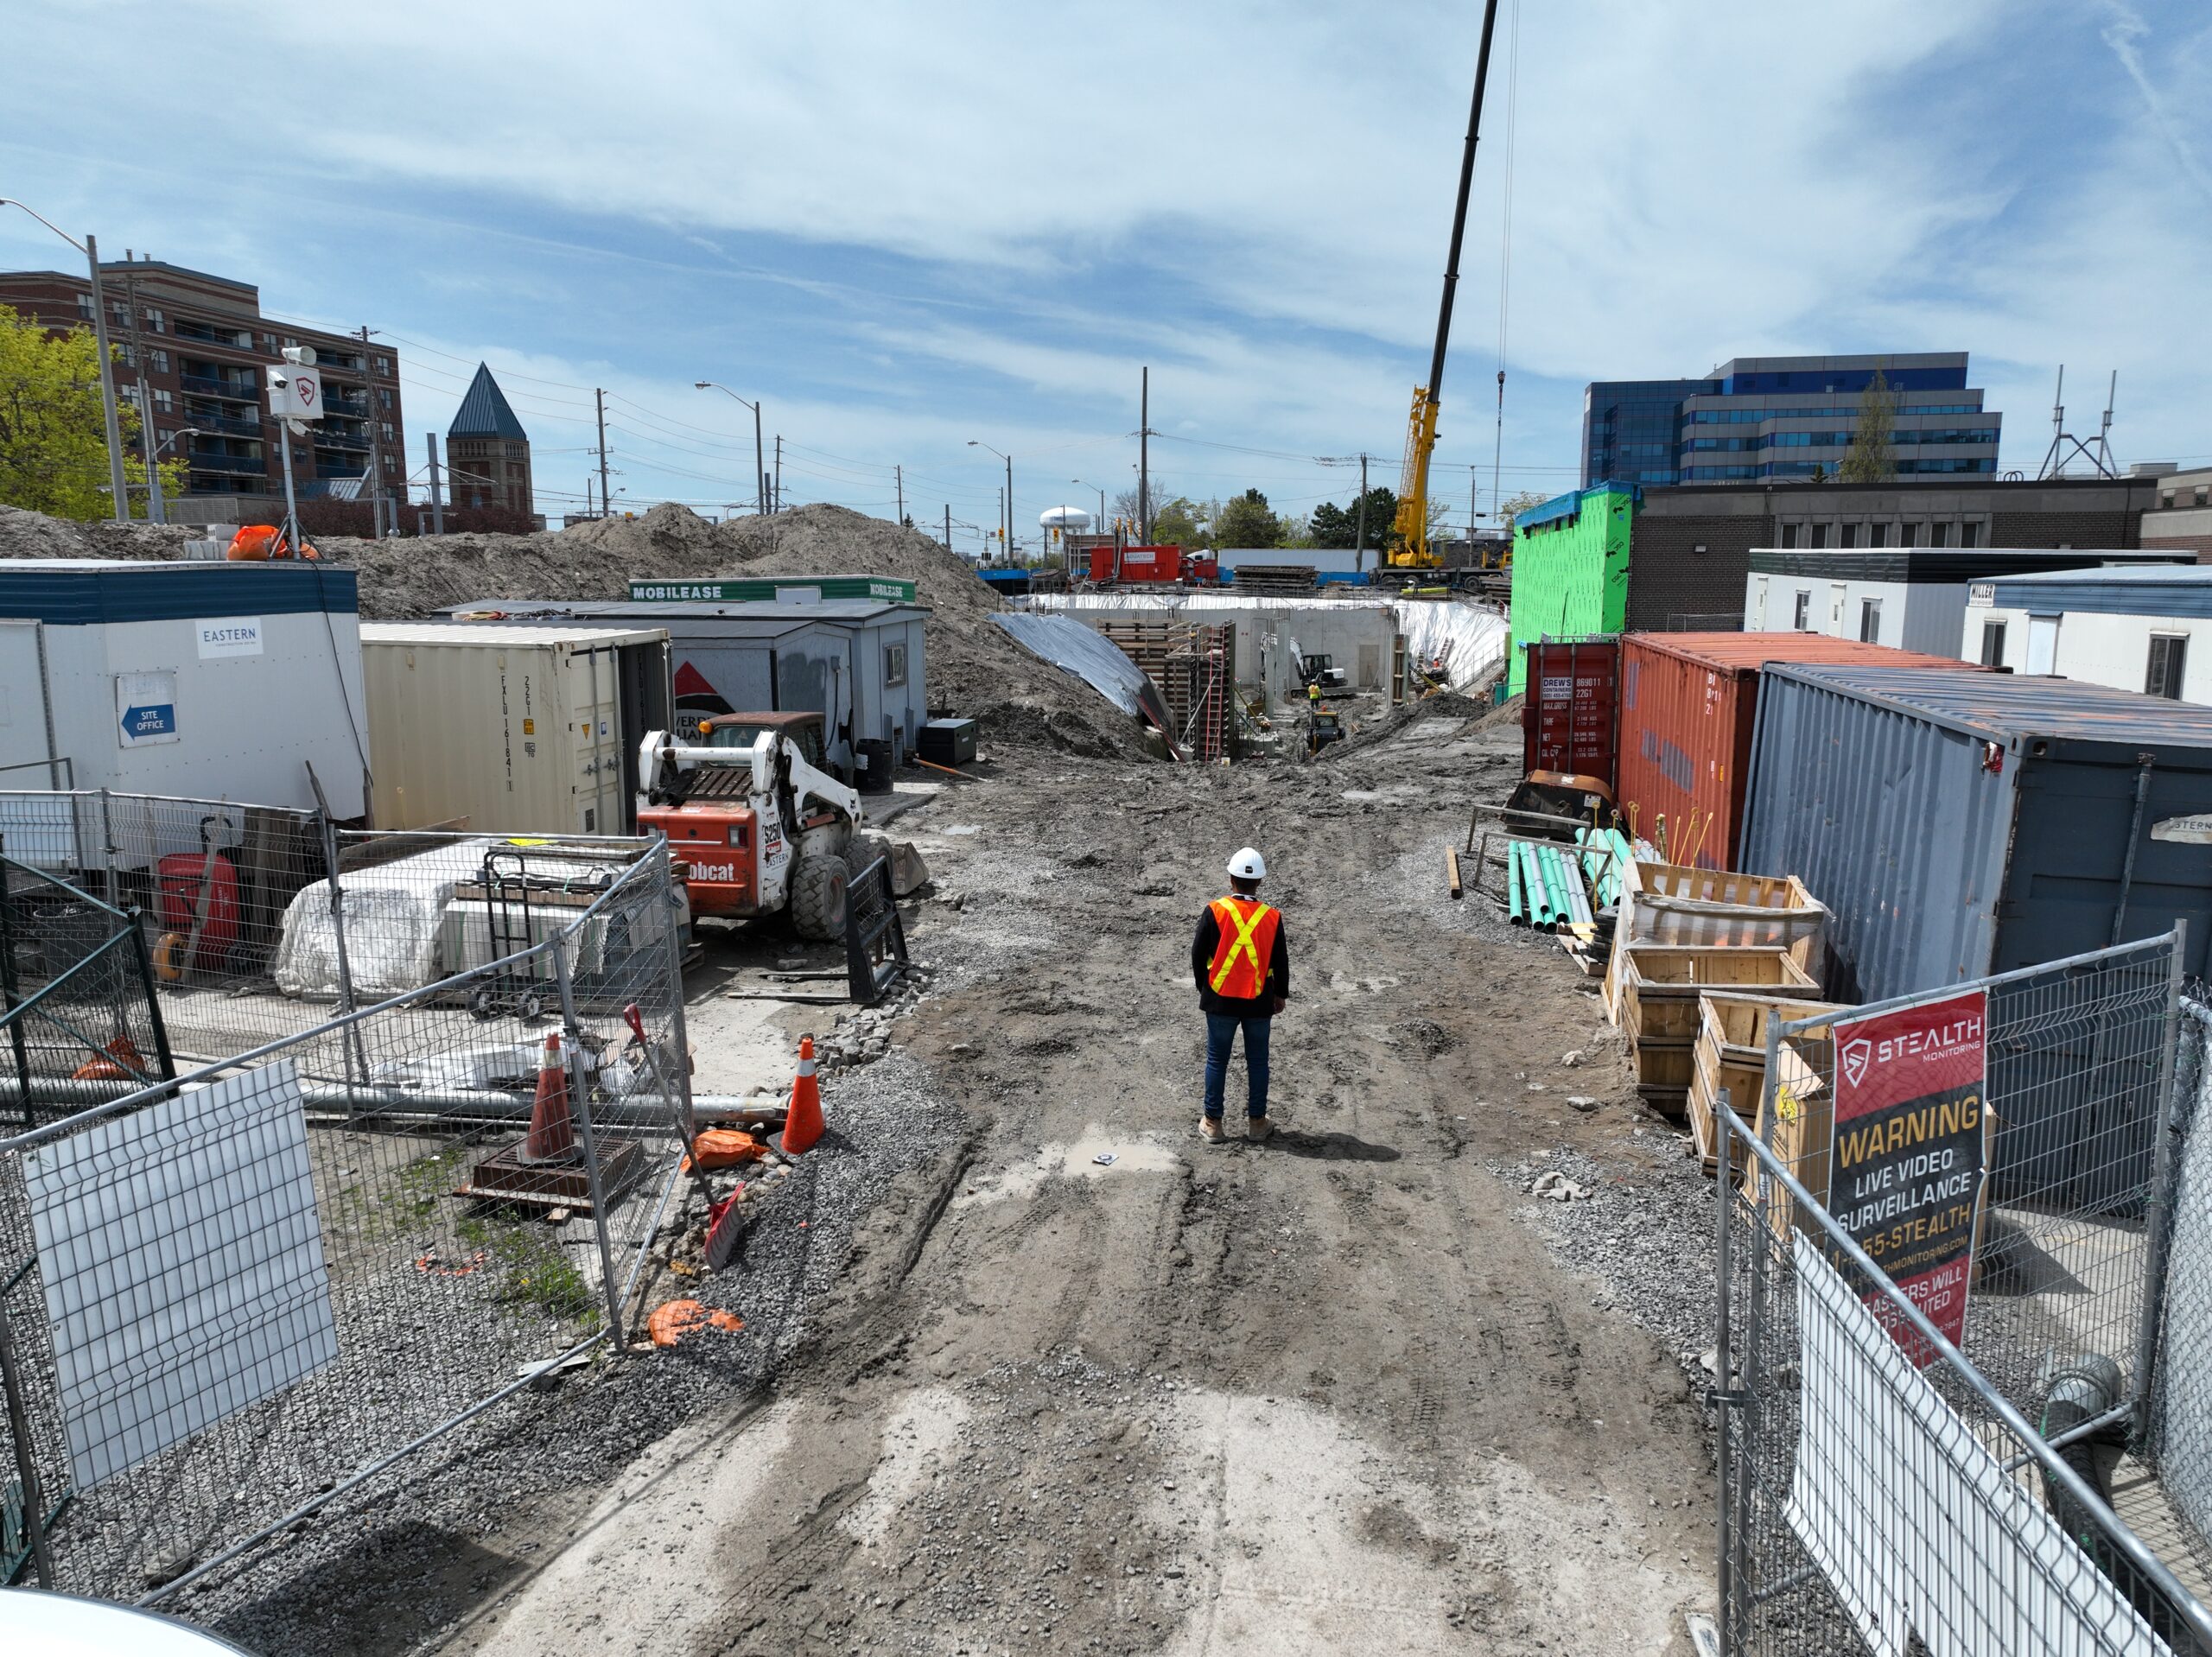
Drone Technology for Comprehensive Construction Monitoring in Toronto
Drone Technology for Comprehensive Construction Monitoring in Toronto Introduction In the fast-paced world of construction, staying on top of site progress, safety compliance, and project milestones is crucial. At DroneViewToronto, we provide professional drone construction monitoring services that offer you…
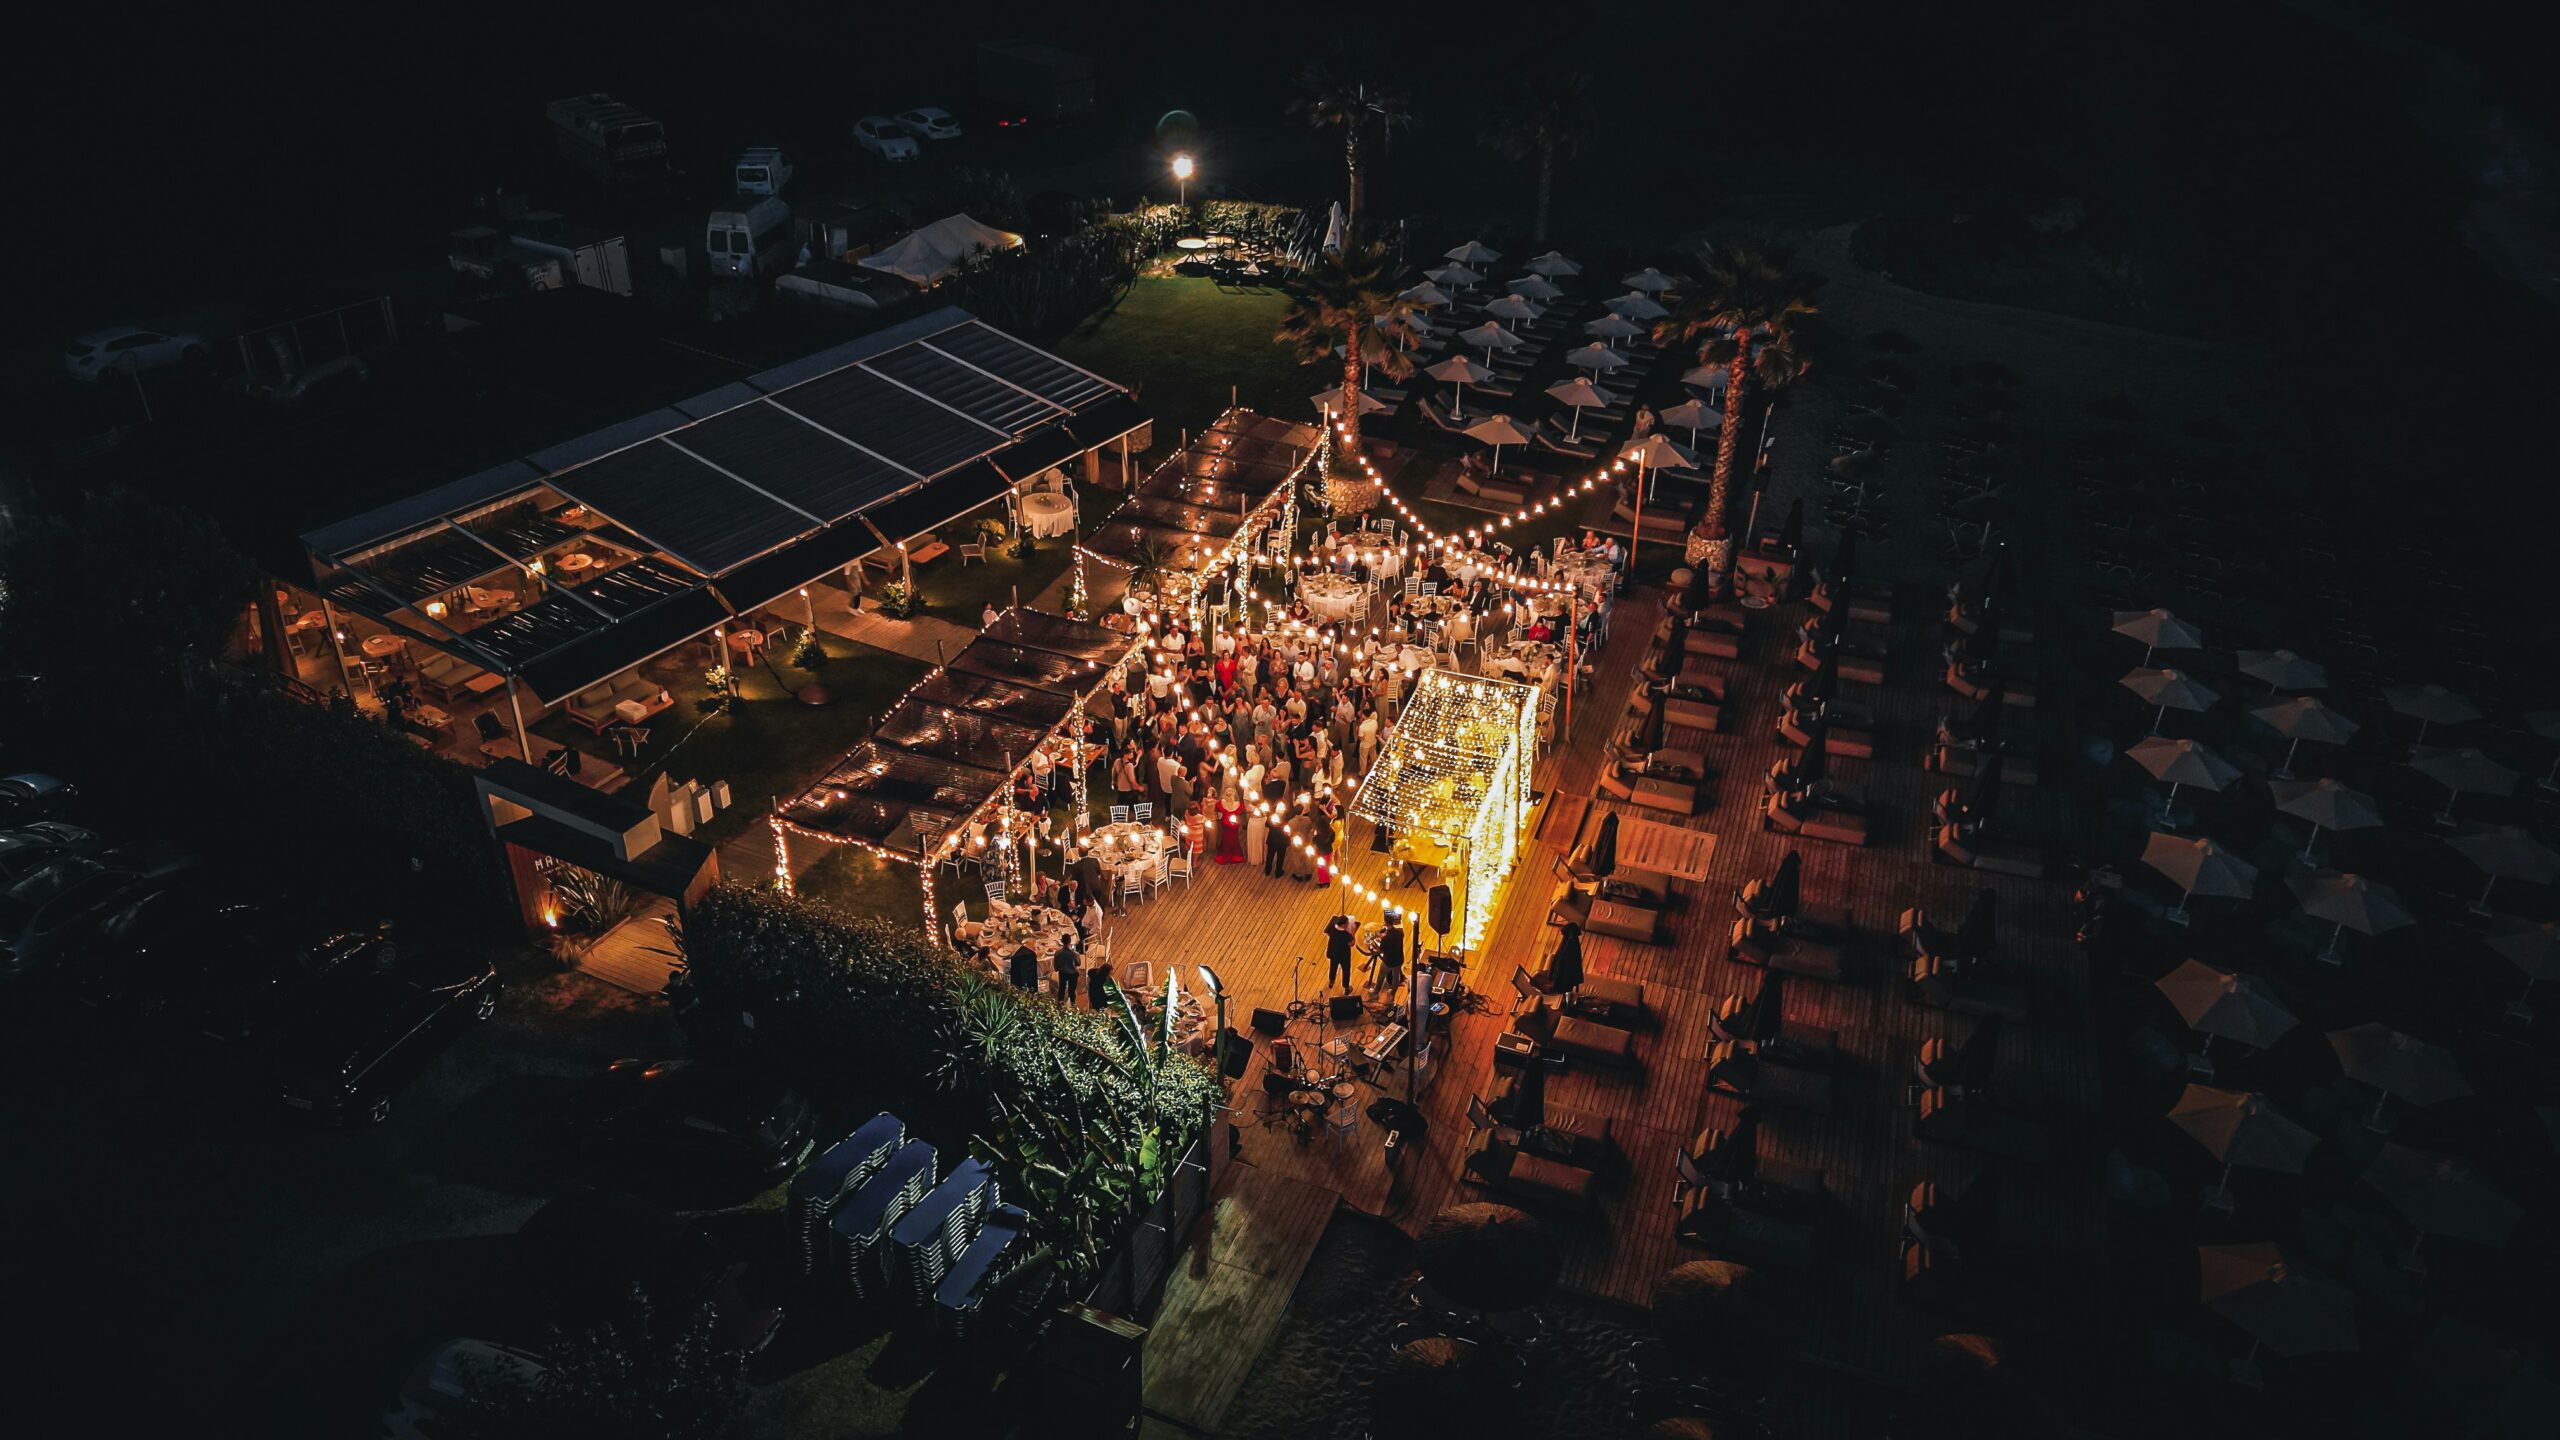
Professional Drone Photography and Videography for Corporate Events in Toronto
Professional Drone Photography and Videography for Corporate Events in Toronto Introduction Corporate events are an opportunity to showcase your company’s success, innovation, and growth. At Drone View Toronto, we specialize in capturing stunning aerial footage for corporate events, providing dynamic…
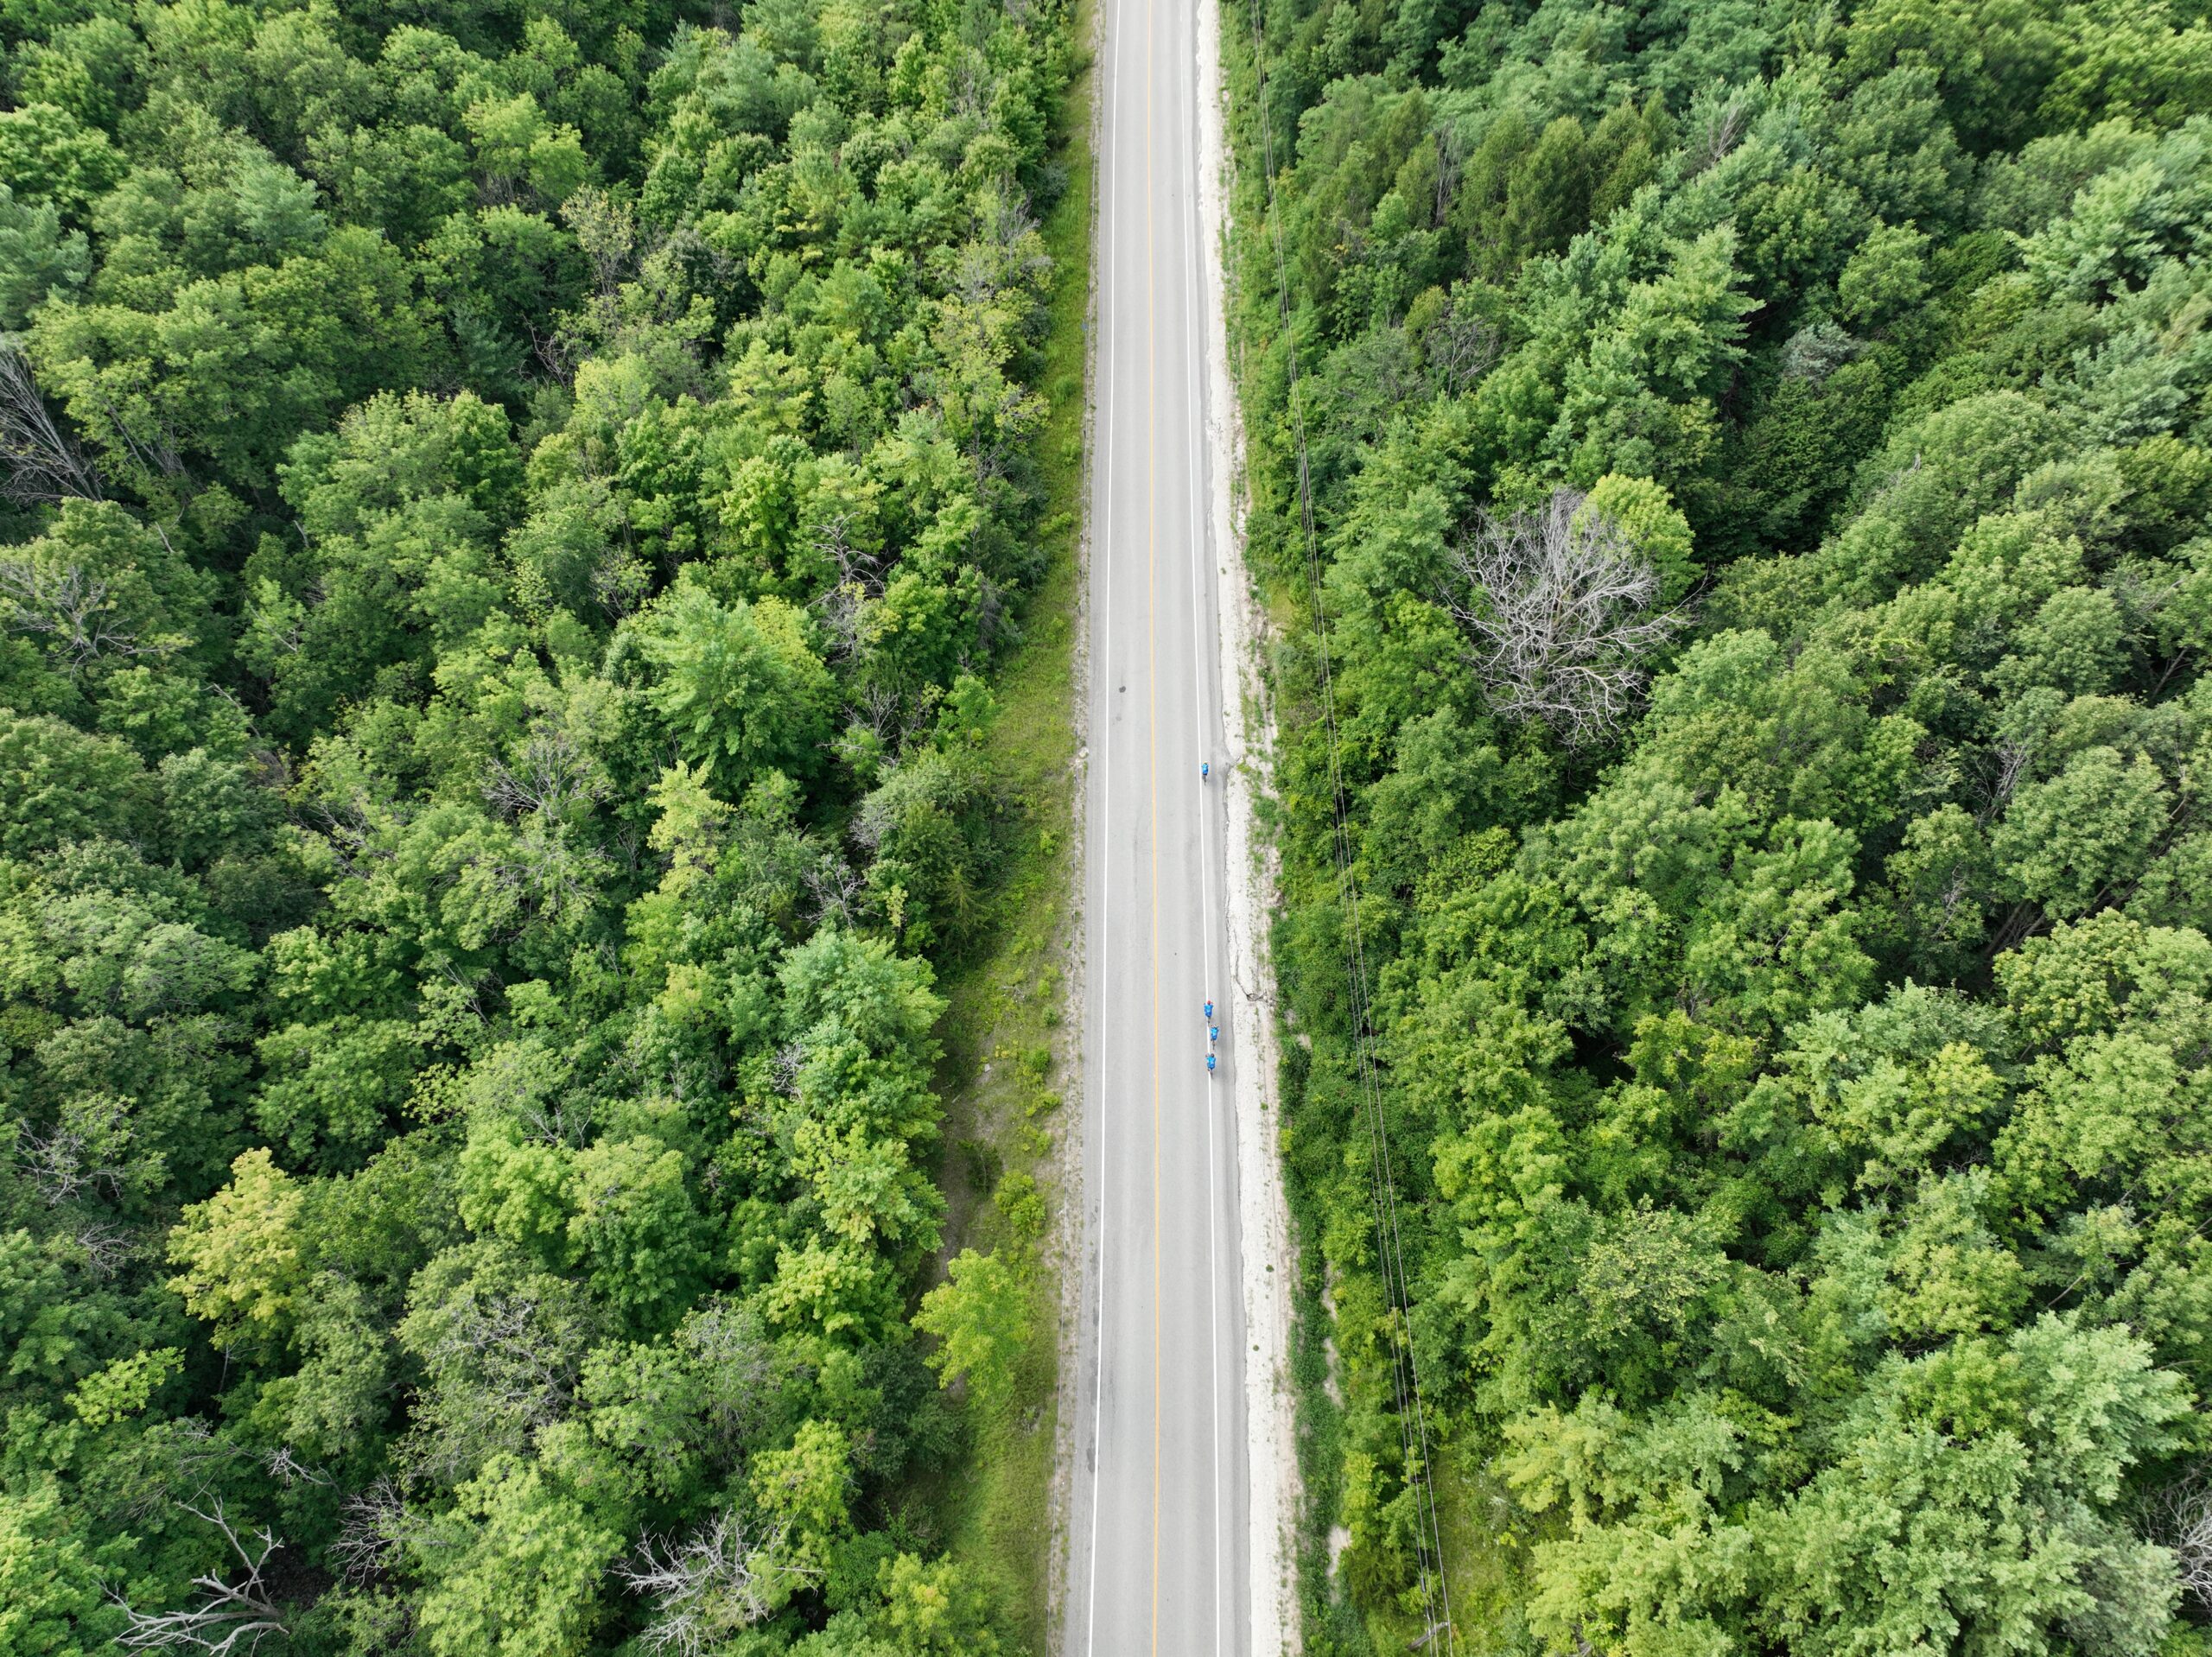
Drone Special Event Coverage for Sports and Group Events in Toronto
Drone Coverage for Group Sports Events in Toronto Introduction Whether it’s a bike ride, marathon, or team sports event, capturing the energy and scale of large group events requires more than just ground-level photography. At Drone View Toronto, we provide…